
Overclocking your Intel CPU can significantly boost performance, making your computer run faster and more efficiently.
Whether you’re a gamer, content creator, or just want a more responsive system, overclocking helps your processor reach its full potential. Intel provides dedicated overclocking software to make the process easier and safer.
However, if you’re new to overclocking, following best practices to prevent overheating, crashes, or even hardware damage is essential.
Let us cover nine essential tips for using Intel CPU overclocking software effectively.
1. Understand the Basics of Overclocking
Before diving into overclocking, it’s crucial to understand what it is and how it affects your CPU. Overclocking means increasing the clock speed of your processor beyond its default settings.
This lets the CPU execute more instructions per second, making your computer run faster. However, higher speeds generate more heat and increase power consumption.
To safely optimize performance, you can use Intel CPU overclocking software, which provides tools to adjust clock speeds while monitoring temperature and power usage.
Key terms to understand:
- Clock Speed: Measured in GHz, this determines how fast your CPU processes tasks. Overclocking increases this speed.
- Voltage: Adjusting voltage settings can stabilize overclocking and increase power usage and heat output.
- Thermal Limits: CPUs have temperature thresholds, and exceeding them can cause crashes or damage.
- Cooling Solutions: Essential for maintaining safe temperatures when overclocking.
Understanding these concepts will help you make informed decisions and avoid unnecessary risks.
2. Use Intel’s Official Overclocking Software
Intel provides specialized overclocking tools that simplify the process and ensure stability. For better control and safety, it’s best to stick with Intel’s official tools instead of third-party software.
Here are two Intel overclocking tools you should consider:
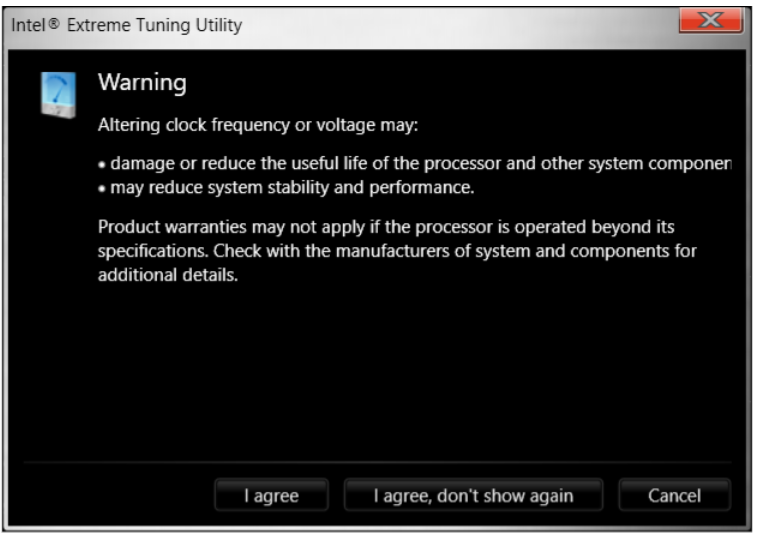
- Intel Extreme Tuning Utility (XTU): This Windows-based performance-tuning software enables novice and experienced enthusiasts to overclock, monitor, and stress-test their systems.
- Intel Performance Maximizer (IPM): An automated tool that tests your CPU’s capabilities and optimizes overclocking settings accordingly.
Intel’s software ensures better compatibility with your CPU and motherboard, reducing the risk of instability or damage.
3. Check Your CPU’s Overclocking Capability
Not all Intel processors support overclocking. Only unlocked CPUs, such as those with a “K” or “X” in their model names (e.g., Intel Core i7-12700K or i9-12900K), allow overclocking.

To check if your CPU is overclockable:
- Visit Intel’s official website and search for your processor model.
- Look for terms like “Unlocked” or “Overclockable.”
- Check your motherboard’s specifications to ensure it supports overclocking.
If your CPU isn’t overclockable, forcing it to run at higher speeds could cause system failures or hardware damage.
4. Keep Your System Cool
Overclocking generates additional heat, leading to overheating and system instability if not properly managed. To keep your system cool, consider upgrading your cooling solutions.
Cooling options:
- Air Coolers: Large heatsinks with fans that help dissipate heat efficiently. These are ideal for mild overclocking.
- Liquid Cooling Systems: These are more effective for high overclocks, as they transfer heat away from the CPU faster.
- Thermal Paste: Applying high-quality thermal paste between your CPU and cooler improves heat transfer, reducing temperatures.
Additional cooling tips:
- Keep your PC case well-ventilated.
- Use extra case fans to improve airflow.
- Monitor temperatures using Intel XTU or other software like HWMonitor.
Maintaining a cool system ensures better performance and prevents long-term damage to your CPU.
5. Increase Clock Speed Gradually
A common beginner mistake is increasing the clock speed too quickly. Instead, raise it in small increments to balance performance and stability.
Step-by-step approach:
- Begin by raising the clock speed in small steps, such as 100 MHz increments. This cautious approach helps identify the optimal performance point without introducing instability.
- Run a stability test using Intel XTU’s built-in stress test or other benchmarking tools like Cinebench.
- If your system crashes or freezes, lower the clock speed slightly.
- Repeat the process until you find the highest stable setting.
Gradually increasing the speed reduces the chances of overheating or system crashes.
6. Monitor Voltage Carefully
Voltage adjustments help stabilize overclocking but must be done carefully to avoid excessive heat and power consumption.
Voltage adjustment tips:
- Start with default voltage settings and only increase if necessary.
- Increase voltage in small steps (around 0.05V increments) to avoid overheating.
- Monitor your CPU’s voltage using Intel XTU to ensure it remains within safe limits.
Excessive voltage can shorten your CPU’s lifespan or cause immediate damage, so always adjust with caution.
7. Run Stress Tests Regularly
After applying overclocking settings, running stress tests ensures your system is stable under heavy workloads. These tests simulate high-performance conditions to check if your CPU can handle overclocking without crashing.
Recommended stress testing tools:
- Intel XTU: Has a built-in stress test for overclocking verification.
- Prime95: Pushes your CPU to its limits, revealing instability.
- AIDA64: Tests CPU and memory stability under high load.
Run each test for at least 30 minutes to an hour to confirm stability. If your system crashes or temperatures exceed safe limits, reduce the clock speed or voltage settings.
8. Keep BIOS and Drivers Updated
Updating your BIOS and system drivers ensures your motherboard can handle the latest overclocking features and settings.
Steps to update BIOS and drivers:
- Visit your motherboard manufacturer’s website to download the latest BIOS update.
- Follow the manufacturer’s instructions to install the update safely.
- Keep Intel chipset drivers and CPU drivers up to date for maximum compatibility.
A well-maintained BIOS ensures better system performance and overclocking stability.
9. Save Your Overclocking Profile
Once you find a stable overclock, save your profile using Intel XTU. This allows you to restore your preferred settings easily without redoing the entire process.
Benefits of saving overclocking profiles:
- Quickly switch between different settings for gaming, content creation, or general use.
- Avoid resetting values if your system crashes or resets.
- Experiment with different overclock levels without losing previous configurations.
By saving profiles, you can easily optimise your CPU for different tasks without manual adjustments each time.
Final Thoughts
Overclocking your Intel CPU is a great way to enhance performance, but it must be done carefully. By following these nine tips—using Intel’s official software, keeping temperatures low, monitoring voltage, and stress testing regularly—you can safely boost your processor’s speed without causing damage.
Always prioritize stability and cooling to ensure long-term reliability. With proper overclocking techniques, you can get the most out of your Intel processor and enjoy faster gaming, video editing, and multitasking performance.
Read more: What Makes an i5 Gaming Laptop Different from Regular Monitors?

